News
Six Tips for Flying with Camping Gear

Finally, the time for your next camping adventure has come, and you’re so ready to explore new mountain sites, hiking trails, and national parks. But, with the excitement also comes stress about packing your camping gear, especially if you’re flying to the destination. Yes, it can be a challenge, but thankfully there are plenty of clever tips to save you from hours of figuring out how to pack your luggage to meet airport security standards. Well, that’s why we gathered the most practical tips that were tested before by fellow campers. Can I pack my tent, a stove fuel, matches? These questions and more will soon be answered.
#1 Baggage and Weight Restrictions
The first thing you need to do before you start packing is to check the weight limits and size restrictions of your airline. Some budget airlines have lower weight limits and smaller size restrictions, in order to catch people off guard and make them pay a higher fee. So always read their rules carefully.
Even a few pounds over the limit can be charged, for both carry-on and checked baggage. They will ask you either throw some things away or pay for the extra weight, neither of which are a great option. To prevent this from happening, purchase a luggage scale so you can check the weight of your bags before leaving home and make any necessary adjustments.
If you are parking at an off-site parking lot to save money, then check their restrictions, as well, to see if they limit the number of bags per person on the shuttle. You can book your airport parking spot online so you are guaranteed an open spot upon arrival, which will save time and avoid stress. The shuttle drivers usually offer free luggage assistance onto the shuttle so you don’t have to worry about carrying your heavy bags.

#2 Know What is Allowed Onboard
Once you have figured out how much you are allowed to bring, now you need to figure out what you can’t bring. Most budget travelers want to avoid checking bags because it usually costs an extra fee. But unfortunately, you can’t always bring all your camping gear in your carry-on bag because it’s not all TSA-friendly.
The TSA website warns that only empty fuel camping stoves can be carried on. Due to its flammable substances, you have to be sure that your stove is cleaned very carefully before packing it. Other inflammable substances, like gel fire starter, are prohibited both in carry-on and checked bags.
Sharp items, such as knives and tent poles, are only allowed in the checked bags. Make sure that these items are properly wrapped, so they do not damage any of the equipment packed with them. On the other hand, safety matches are only allowed in the carry-on bag. You can only have one box of them with you. Flashlights are allowed in all of your luggage. For anything you are unsure about, you can always consult your airline or start searching for shops at your destination that sell these things.
#3 Pack Lightweight
Know that you know all the relevant restrictions, it’s time to make a list of the things you need to pack. First, start with the absolute necessities. Lightweight bags make it so much easier to move around and are much less of a hassle. For items that aren’t necessarily must-haves, but would be nice to have, see if you can find a smaller or lighter alternative. If you are traveling with a group, discuss the option of sharing some of the items. Check your destination to see if you might have the option to rent or purchase heavier equipment. Also, check if there’s a possibility to do laundry so you can bring fewer clothes. The rule here is that less is more.
#4 Compress More
Make all your things fit into a smaller-sized bag by compressing as much as you can to make room for other things that can’t be compressed. Sleeping bags and jackets can be packed in compression sacks, which you can carry on your back. If you don’t want to carry a lot of weight, then you can buy vacuum-sealed bags that are cheap and fit in any suitcase. Even food can be compressed, and it’s a practical solution if it’s not easy to find food supplies close to the campsite. You can buy or even cook freeze-dried meals at home. Apart from being light and easy to pack, they are prepared quickly, just by heating them up.
#5 Protect Camping Gear from Damages
There’s nothing more disappointing and frustrating than opening your suitcase to find one of your favorite objects is shattered or damaged. We have two tips for you. The first is to buy or borrow a hard-sided suitcase to place fragile things. As we all know, luggage is not always treated gently by the airlines, so often times the contents of our luggage can be damaged. The worst part is that travelers hardly ever get compensated for it. A hard-sided bag can prevent accidents of this kind. Check out a local thrift store if you don’t have much money to spend on new luggage. Then, place trekking poles and tent poles in the middle of your checked bags and cover them with soft objects like clothes to protect them from bending and breaking.
#6 Mark Your Luggage
You made it to your destination, and you’re excited about getting as fast as you can to the campsite. Before that, you have to claim all your baggage back. In case you have many suitcases, you have to make sure that you don’t forget any of them at the airport. An easy but wise tip is to mark all of your luggage with something that stands out from other luggage. For example, you can use ribbons or tags of the same color to identify your bags. It will be easier to spot and collect them from the carousel.
If you follow these tips, you can save yourself from spending time packing unnecessary objects. You also know where your things are, in the checked or carry-on bags, and have made your choice to bring some things with you or purchase/rent camping gear upon arrival. Now, you’re ready to live your adventure to the fullest.


Hiking is an enjoyable and rewarding activity, but it can also be physically demanding. To ensure you have the energy to make it to the top of your next peak or trail, you need to bring along snacks that will provide you with sustained energy throughout your hike.
But what are the best snacks for a hike? There are many different factors at play when choosing snacks for a hike: nutritional value, ease of packing and storage, convenience when eating on-the-go, etc.
In this article we’ll discuss what types of snacks are best for a hike, how to choose healthy and nutritious ones that provide energy, ideas for easy-to-pack snacks that don’t require refrigeration or heating, how to store food safely while on a hike as well as tips on when and how often should you eat and drink during your trek. So let’s get started!
How to Choose Healthy Snacks for a Hike
When selecting snacks for a hike, it’s to choose ones that are rich in both carbohydrates and proteins. Carbohydrates will give you energy while proteins help your muscles recover after exercise. Aim to pack snacks that have natural sources of carbohydrates like grains, fruits, vegetables and nuts as well as protein-rich options such as meats, dairy products, beans and legumes. Try to stay away from processed foods with added sugars or artificial ingredients.
Easy-to-Pack Snacks That Don’t Require Refrigeration or Heating
Snacking on the trail doesn’t require any elaborate preparation – there are plenty of delicious snacks that don’t require refrigeration or heating. Here are some great snack ideas for your hike:
- Whole wheat sandwiches filled with nut butter and sliced fruits or vegetables, such as apples, carrots or cucumbers.
- Nuts and seeds like almonds, walnuts, cashews, peanuts and sunflower seeds.
- Fruits like bananas, oranges and grapes are easy to pack and carry along the trail.
- Energy bars that contain natural ingredients like oats, honey and dried fruits are a great source of energy when you’re on-the-go.
- Trail mix – a combination of nuts, dried fruit and other snacks makes an excellent hiking fuel.
How to Store Food Safely While on a Hike
When you’re out in the wilderness, it’s important to take steps to properly store your food. This will keep animals away and help to prevent contamination. Here are some tips for storing food safely while on a hike:
- Pack snacks into sealable plastic bags or containers that can be securely closed.
- Hang the bags or containers from a tree branch at least 10 feet above ground.
- Keep food away from your sleeping area by at least 200 feet.
- When returning home, dispose of any remnants of food in trash receptacles only – never leave them along hiking trails!
When to Eat and Drink During a Hike
In order to stay hydrated and energized on your hike, it’s important to plan ahead. Eating small snacks throughout the day will help keep your energy levels up, so it’s a good idea to pack more than you think you need.
It’s also important to drink plenty of water when out in the wilderness – dehydration can lead to fatigue and impair physical performance. Drink water every 15 minutes while hiking and take regular breaks during the day in order to refuel with food and fluids.
See also: How to Pack for a Day Hike
Benefits of Bringing Good Snacks on a Hike
Having nutritious snacks along your hike has many benefits:
- It helps maintain your energy levels by providing sustained fuel throughout the day.
- Nourishing snacks can help to prevent fatigue, muscle cramps and headaches caused by dehydration.
- Eating regularly helps your body recover quickly after exercise.
- It’s a great way to stay motivated and focused while on the trail.
Great Snack Options for Hikers
To recap, some of the best snacks to bring on a hike are ones that are nutritionally balanced and easy to pack and store. Some great snack options include: whole wheat sandwiches, nuts and seeds, fruits, energy bars and trail mix. Remember to drink plenty of water throughout the day in order to stay hydrated!
Conclusion
When it comes to packing snacks for a hike, it’s important to choose ones that provide both carbohydrates and proteins. Aim for snacks that are easy to pack and store, such as sandwiches, nuts and seeds, fruits, energy bars or trail mix. Don’t forget to stay hydrated with plenty of water throughout the day!
FAQs
Q: What types of snacks should I bring on a hike?
A: The best snacks to bring on a hike are ones that have both carbohydrates and proteins. Try packing whole wheat sandwiches, nuts and seeds, fruits, energy bars or trail mix.
Q: How often should I drink while hiking?
A: It’s important to stay hydrated while out in the wilderness – aim to drink water every 15 minutes while hiking. Take regular breaks during the day in order to refuel with food and fluids.
Q: What are some benefits of bringing good snacks on a hike?
A: Eating nutritious snacks while hiking can help maintain your energy levels, prevent fatigue and muscle cramps, and aid in recovery after exercise. It’s also a great way to stay motivated and focused!
Q: How should I store food while on a hike?
A: Pack snacks into sealable plastic bags or containers that can be securely closed. Hang the bags or containers from a tree branch at least 10 feet above ground, and keep food away from your sleeping area by at least 200 feet. When returning home, dispose of any remnants of food in trash receptacles only – never leave them along hiking trails!
Q: What are some easy-to-pack snacks that don’t require refrigeration or heating?
A: Some great snack options for a hike include sandwiches, nuts and seeds, fruits, energy bars or trail mix – all of which can be easily packed without the need for refrigeration or heating.
Q: Are there any special considerations when choosing snacks for a hike?
A: Yes – aim to choose snacks that are nutritionally balanced and easy to pack and store. Try to avoid sugary or processed snacks, as these can cause energy crashes. Also, if you’re planning on eating during the hike, make sure that you have plenty of water available in order to stay hydrated!
Q: When should I eat and drink during a hike?
A: Drink water every 15 minutes while hiking and take regular breaks during the day in order to refuel with food and fluids. Eating regularly helps your body recover quickly after exercise, so try to have snacks available throughout the day.
Q: What are some great snack options for hikers?
A: Some great snack options include: whole wheat sandwiches, nuts and seeds, fruits, energy bars and trail mix. Remember to drink plenty of water throughout the day in order to stay hydrated!
Q: What are the benefits of bringing good snacks on a hike?
A: Eating nutritious snacks while hiking can help maintain your energy levels, prevent fatigue and muscle cramps, and aid in recovery after exercise. It’s also a great way to stay motivated and focused while on the trail!
Q: What snacks should I avoid packing for a hike?
A: Try to avoid sugary or processed snacks, as these can cause energy crashes. Also, anything that requires refrigeration or heating is best left at home – aim to choose snacks that are easy-to-pack and store, such as sandwiches, nuts and seeds, fruits, energy bars or trail mix.
Q: How do I choose healthy snacks for a hike?
A: Aim to choose snacks that are nutritionally balanced and easy to pack and store. Try to avoid sugary or processed snacks, as these can cause energy crashes. Choose snacks that provide both carbohydrates and proteins, such as sandwiches, nuts and seeds, fruits, energy bars or trail mix – all of which are easy-to-pack and don’t require refrigeration or heating.
Q: What else should I consider when packing snacks for a hike?
A: Make sure that you have plenty of water available in order to stay hydrated. Also, store your food securely while on the trail by hanging it 10 feet above ground and keeping it away from your sleeping area. Finally, dispose of any remnants of food in trash receptacles only – never leave them along hiking trails!

Buying the right women’s motocross gear is not a cakewalk!
One of the most important aspects of getting the appropriate gear is knowing what to look for and what to shun when buying dirt bike gear.
It can be helpful to choose the correct equipment for you if you are new to motocross or other dirt-biking activities.
So how can you pick the greatest motocross equipment? You can choose the appropriate women’s motocross gear for your trip using the guidelines and recommendations in this post.
- Choose the Right Fit
Neither your clothing nor your accessories should ever be excessively tight or too loose. The equipment should be just snug enough to stay on your body and do its job of protecting you in the event of an accident. Look for adjustable items like pants with an adjustable waist so you can get a better fit.
You should sit down and pretend to be riding the bike as you try the gear on. This is important since it guarantees that the equipment is not uncomfortable or restricts your motions. When you sit down in a riding position, the gear may not appear to be too big on you even though it may first appear that way. You don’t want your clothing, such as your sleeves or your jeans, to ride up, exposing your flesh and raising your chance of getting hurt.
- Water Resistance
Your ride will be more convenient if your gear has water-resistance qualities. You can buy separate rain gear or purchase waterproof clothing.
Even with removable waterproof linings, external textiles continue to absorb water, and you will still get wet. They may also heat up, feel uncomfortable, and add weight.
- Don’t Overlook its Durability
Women’s motocross pants are often constructed from denier, nylon, or polyester fabric. Both nylon and polyester are incredibly comfortable to wear and dry extremely rapidly. This kind of fabric is durable and retains its quality even after multiple washing. High-denier material is designed to make your possible motocross pants more robust.
- Price
When selecting the appropriate equipment for you, the cost is yet another important factor. Most people don’t have an endless supply of money to spend on dirt bike equipment. Some items are worth a little bit more money than others, but you can get away with buying some items on a budget. When purchasing crucial items like helmets, for instance, you get what you pay for, therefore spending more on these items can result in safer products.
Consider how much you can afford to spend, then begin looking at the equipment that is within your spending limit. You can get things that suit your demands and budget range.
- Ventilation
Ventilation is a factor that is frequently disregarded when purchasing dirt bike equipment. It might be uncomfortable to ride in something that doesn’t have good ventilation and breathability. This is especially true if you ride during the sweltering summer. Air can flow freely through your gear and be wicked away from your body by materials with good ventilation and breathability. By doing so, you’ll be able to be more comfortable even when the outside temperature is higher.
Conclusion
Considering these factors will help you choose the right motocross gear for women that may not only offer maximum protection but perfectly cater to your needs and budget. Always remember to be safe!
——————————————-

When dealing with vehicles, proper maintenance goes a long way toward preventing unnecessary expenses and ensuring the vehicle’s longevity; an ATV is no different in this regard. However, knowing how to take care of your ATV is arguably more important for many reasons, including safety. ATV maintenance during “riding” season is relatively easy. Still, things usually take a different turn once the riding season is over.
Unfortunately, most people often forget to undertake proper ATV maintenance during winter, and as you would expect, they mostly end up paying dearly for it once it’s ATV season again, as their quads are usually significantly damaged.
Do you have an ATV? If you do and you’re looking for tips on how to carry out proper off-season ATV maintenance, read on to discover some of the best ways to ensure your ATV remains in perfect condition all season long.
Garages and ATV Covers
The first thing you’ll want to put on your ATV maintenance checklist is shelter and storage location. As you well know, your ATV is as much a vehicle as your car is. Basically, this means that just as your car requires shelter to protect it from weathering, especially during winter, your ATV also requires the same. You could even argue that providing shelter or cover for your ATV is even more important than doing the same for your car. You should also note that shielding your ATV from direct exposure to sunlight during summer is also important because the sun can also damage your ATV when you leave it exposed for too long.
If you have a garage, you should ensure to park your ATV inside it to effectively shield it from weathering damage. However, the fact remains that not everyone has access to a garage, and even if you did, your garage would only protect your ATV from “some” of the effects of weathering, not all. So, if you have an ATV, you should consider getting an ATV cover. ATV covers are designed to effectively shield your ATV from harsh environmental effects, ensuring they’ll remain in excellent condition regardless of the weather.
You may be thinking, “Why can’t I just use a random blanket or cloth from my home to cover my ATV?” The answer is simple; those clothes and blankets are not designed for ATV protection. If you use them, you’ll have water building up under them, eventually leading to mold and mildew growth, causing even more damage. With ATV covers, on the other hand, water under the cover will always evaporate quickly, so you can be sure your quad-wheeler will remain perfectly dry and mold-free. In addition, their unique design means you’ll be able to use ATV covers all year round, indoors and outdoors, to protect your ATV from the effects of weathering effectively.
Check Air Filter
Access to clean air is crucial for your ATV to function properly, and if your ATV’s air system is contaminated, it could lead to ATV engine issues. Therefore, you must ensure to check your ATV air filter system from time to time during your quad maintenance to ensure that no small animals or insects have made nests in your filter system. You’ll also want to ensure no dirt or debris clogs your air filter. To do this, simply locate the air filter cover (you should find it in the back of your ATV, under the bed). Once you’ve seen it, take off the cover and then look inside to be sure it’s clean.
Battery Maintenance
Another ATV maintenance task you’ll want to add to your ATV service checklist is battery evaluation and maintenance. Just like a regular car, ATV batteries become less effective or damaged over time when the ATV isn’t used, especially after exposure to cold or freezing weather. So you should ensure to start your ATV from time to time and just let the battery charge to ensure it doesn’t become dead before spring. In addition, you should know that there are different types of ATV batteries on the market, and some are more suited to cold temperatures than others. So you’ll also want to ensure you get the best cold weather ATV battery you can find if you plan on leaving the battery in the ATV all winter long. On the other hand, you could opt to remove the ATV’s battery and connect it to a trickle charger that will help ensure you don’t end up having a dead battery by spring; which is what will likely happen if you just remove the ATV’s battery and drop it somewhere in your home or garage.
Change Engine Oil
An engine oil change is a regular part of every automobile maintenance and should be part of your ATV maintenance checklist. You should always check your ATV’s engine oil state, especially if you haven’t used the ATV in a long while. This is because debris and dirt might have somehow gotten into your oil filter, and this will make the engine oil sticky and thick. Running your ATV with this oil content will likely result in engine damage, and fixing a damaged ATV engine will undoubtedly cost you a significant amount of money. So instead of dealing with lousy engine problems, simply make sure to swap out the bad oil for quality, fresh engine oil.
Tire Check
If you have a car, you’ll most likely notice that when you leave it parked for an extended period, the tires will tend to lose pressure and go flat. The same applies to an ATV, so proper tire care is essential to proper four-wheeler maintenance. You’ll want to check your tire pressure levels periodically during the off-season. If they’re lower than what they should be, you could opt to use a tire pump to get them back in the proper condition. Also, keep an eye out for damaged or worn-out ATV tires so you can replace them before riding the ATV again.
Other ATV maintenance tips you should add to your ATV maintenance checklist include the following:
- Check coolant and gas states to ensure they’re free from dirt and debris.
- Tighten ATV tire bolts before riding.
- Check engine belt condition.

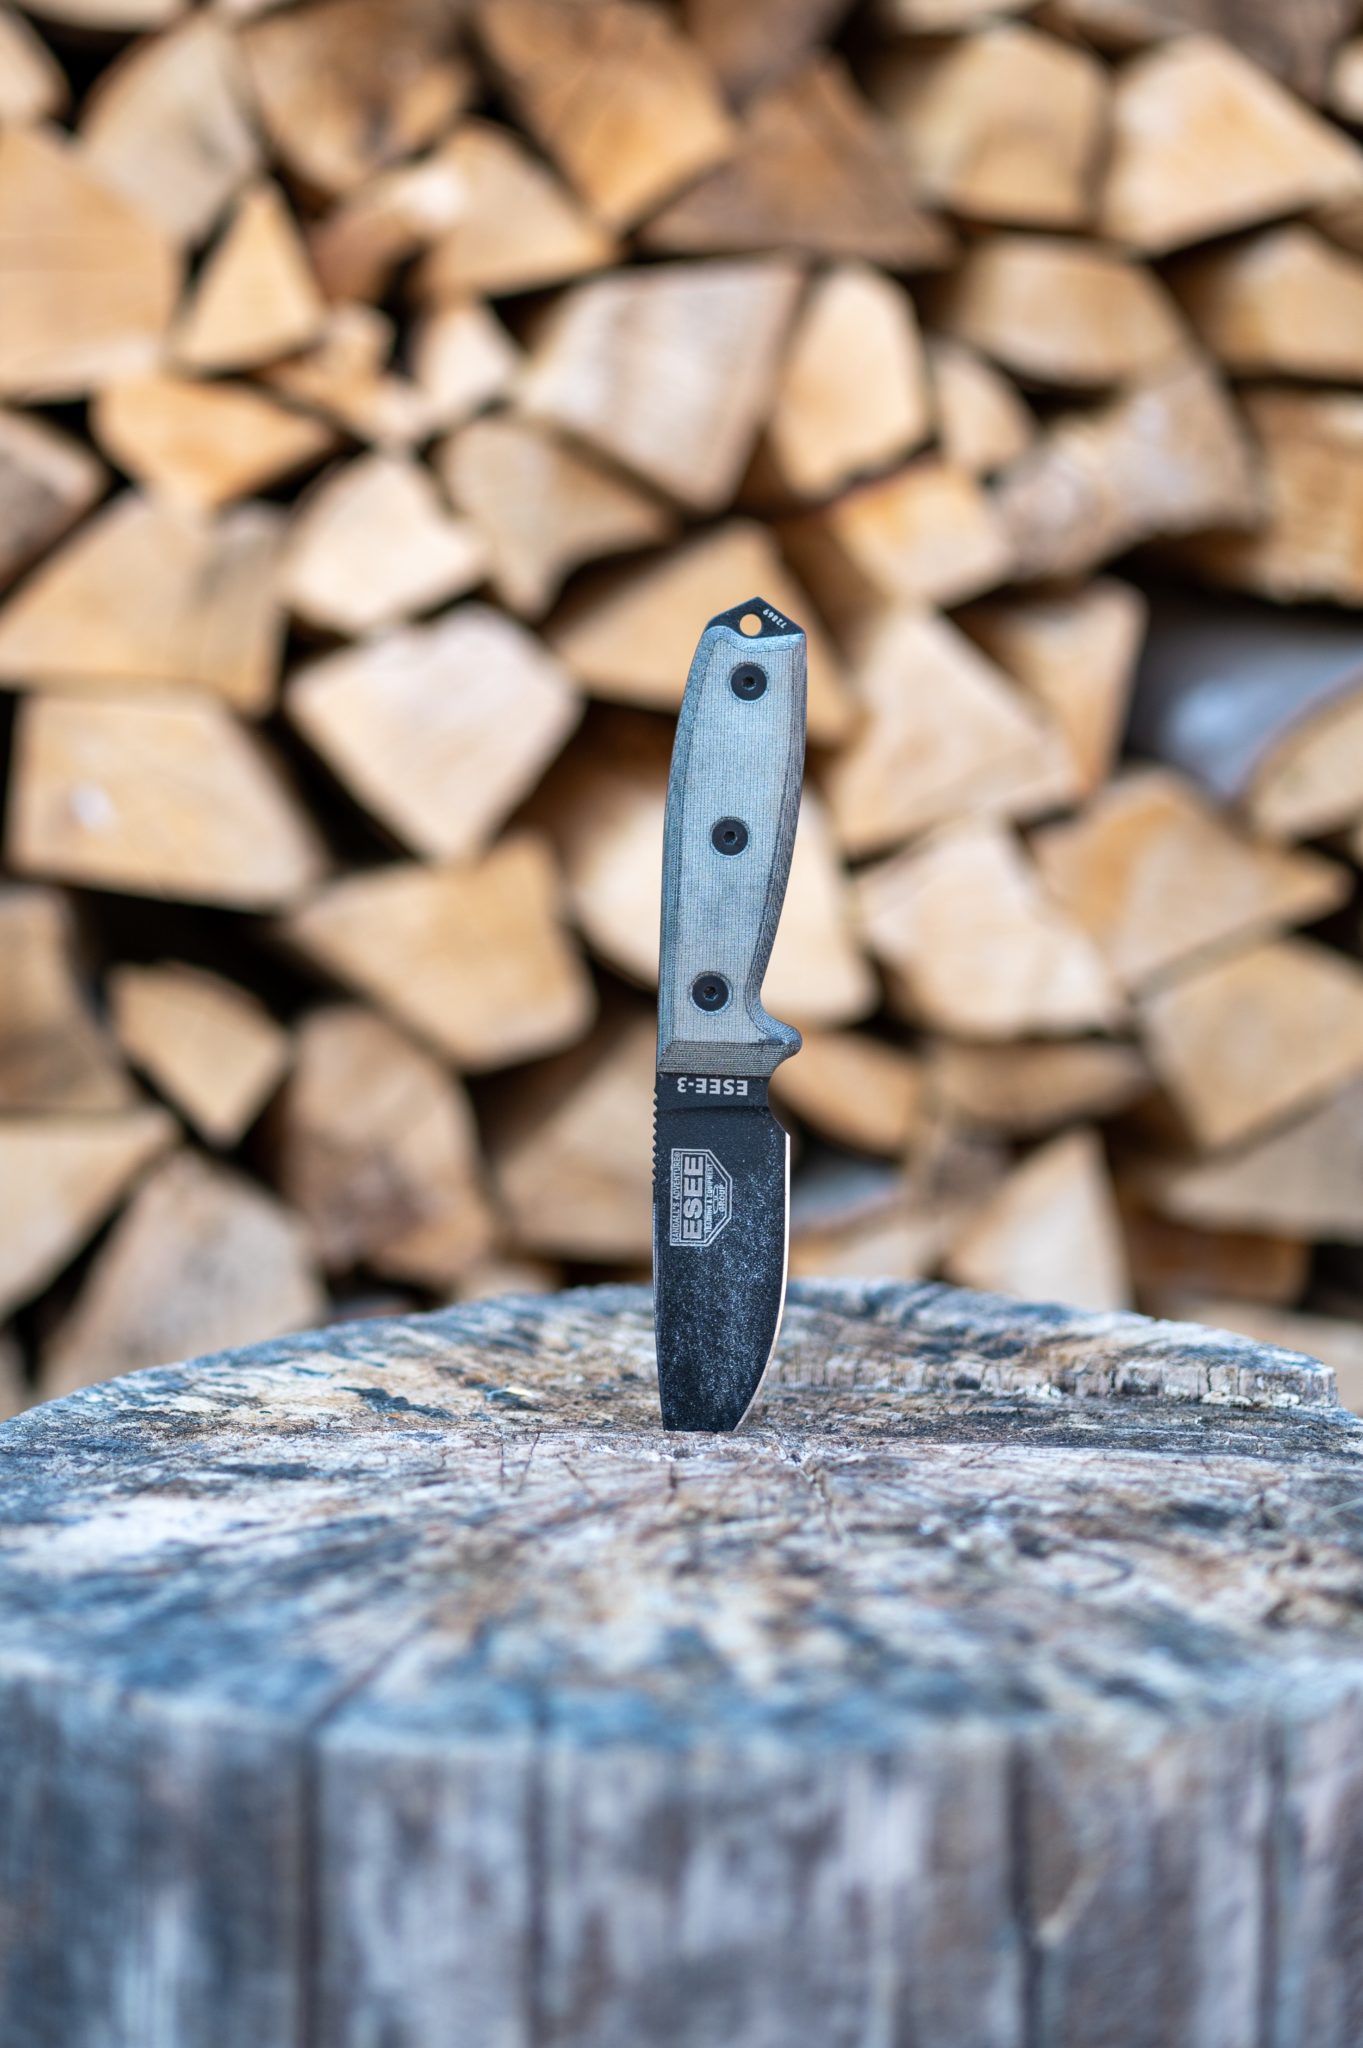
TOP-5 Custom Bushcraft Knives That Can Replace a Camp Hatchet

How to Take Your Own Internet to Outdoor Events

Outdoor Event WiFi: The New Backbone of Open-Air Experiences

Gear You Should Snag for the Great Outdoors This Season

Are You Ready for Autumn Adventures? How to Prep for an Unforgettable Outdoor Fall Guys Trip
BougeRV Showcases Sustainable Innovations at Outdoor Retailer Summer Market 2024

The Evolution of Outdoor Apparel: How Fashion Meets Functionality in the Wilderness

The Role of Camouflage in Wildlife Photography and Hunting
How The Annual REI Dividend Works
Spring Camping Must Haves: BougeRV’s CR Pro 30 and Portable Fridge Innovation

The Perfect Heated Clothing for Different Types of Cold Weather

13 Best Hot Springs in Utah

11 Best Hot Springs in Arizona

12 Best Hot Springs in California

12 Best Hot Springs in Virginia
-
 Outdoor Blog7 years ago
Camping Cots and Air Mattresses: What’s Best for You?
-
 Guns & Shooting Gear Reviews4 years ago
Best Gun Brands – Top 10 Gun Manufacturers in the World
-
 Best in Class Reviews4 years ago
The 7 Best Camping Dinnerware Items
-
 Outdoor Blog6 years ago
5 Useful Items To Have When You’re Out On Your Hunting Trip
-
 Best in Class Reviews6 years ago
The 7 Best Fixed-Blade Survival Knives – Tested & Reviewed
-
 Best in Class Reviews4 years ago
7 Great Sleeping Bags for Tall People – 2023 Review
-
 Backpacking Gear Reviews & Guides5 years ago
7 Best Solar Panel Trail Cameras – Reviewed
-
 Best in Class Reviews4 years ago
Top 7 Best Microspikes for Hiking – 2023 Review